Digital signing
This article describes how to fill and add your e-signature to documents, ensuring convenience and security.
There are several different options for how you can do this: Adobe Acrobat, Docusign, and Mac users. Read the help guides below for the programme you use to fill and sign documents.
Adobe Acrobat Reader
If you don't have Adobe Acrobat Reader, you can download it free from the Adobe website here.
- Download and save the document that you need to sign.
- In the Adobe app, open the downloaded document.
- Under "All tools" at the top-left, click "Fill and Sign". Input the necessary details by selecting the blank text field in the document.
- Navigate to the "Sign" tab in the top-left corner and choose "Add signature". You can type, draw, or upload an image of your signature. Click "Apply" to save.
- Pick the desired signature from the list to insert it into the document. Drag and position the signature accurately within the designated box.
- Ensure the signature is appropriately placed, then click "File" and select "Save".
- Your document is now signed. In the Investor Portal, you can upload your signed and saved document.

Docusign
Docusign is an alternative to Adobe Acrobat that requires a DocuSign account. If you don't already have a DocuSign account, sign up for a free 30-day trial here.
- Download and save the document that you need to sign.
- Log in to your DocuSign account.
- Click on "New" to start a new activity.
- Upload your document into DocuSign and select the "I'm the only signer" option.
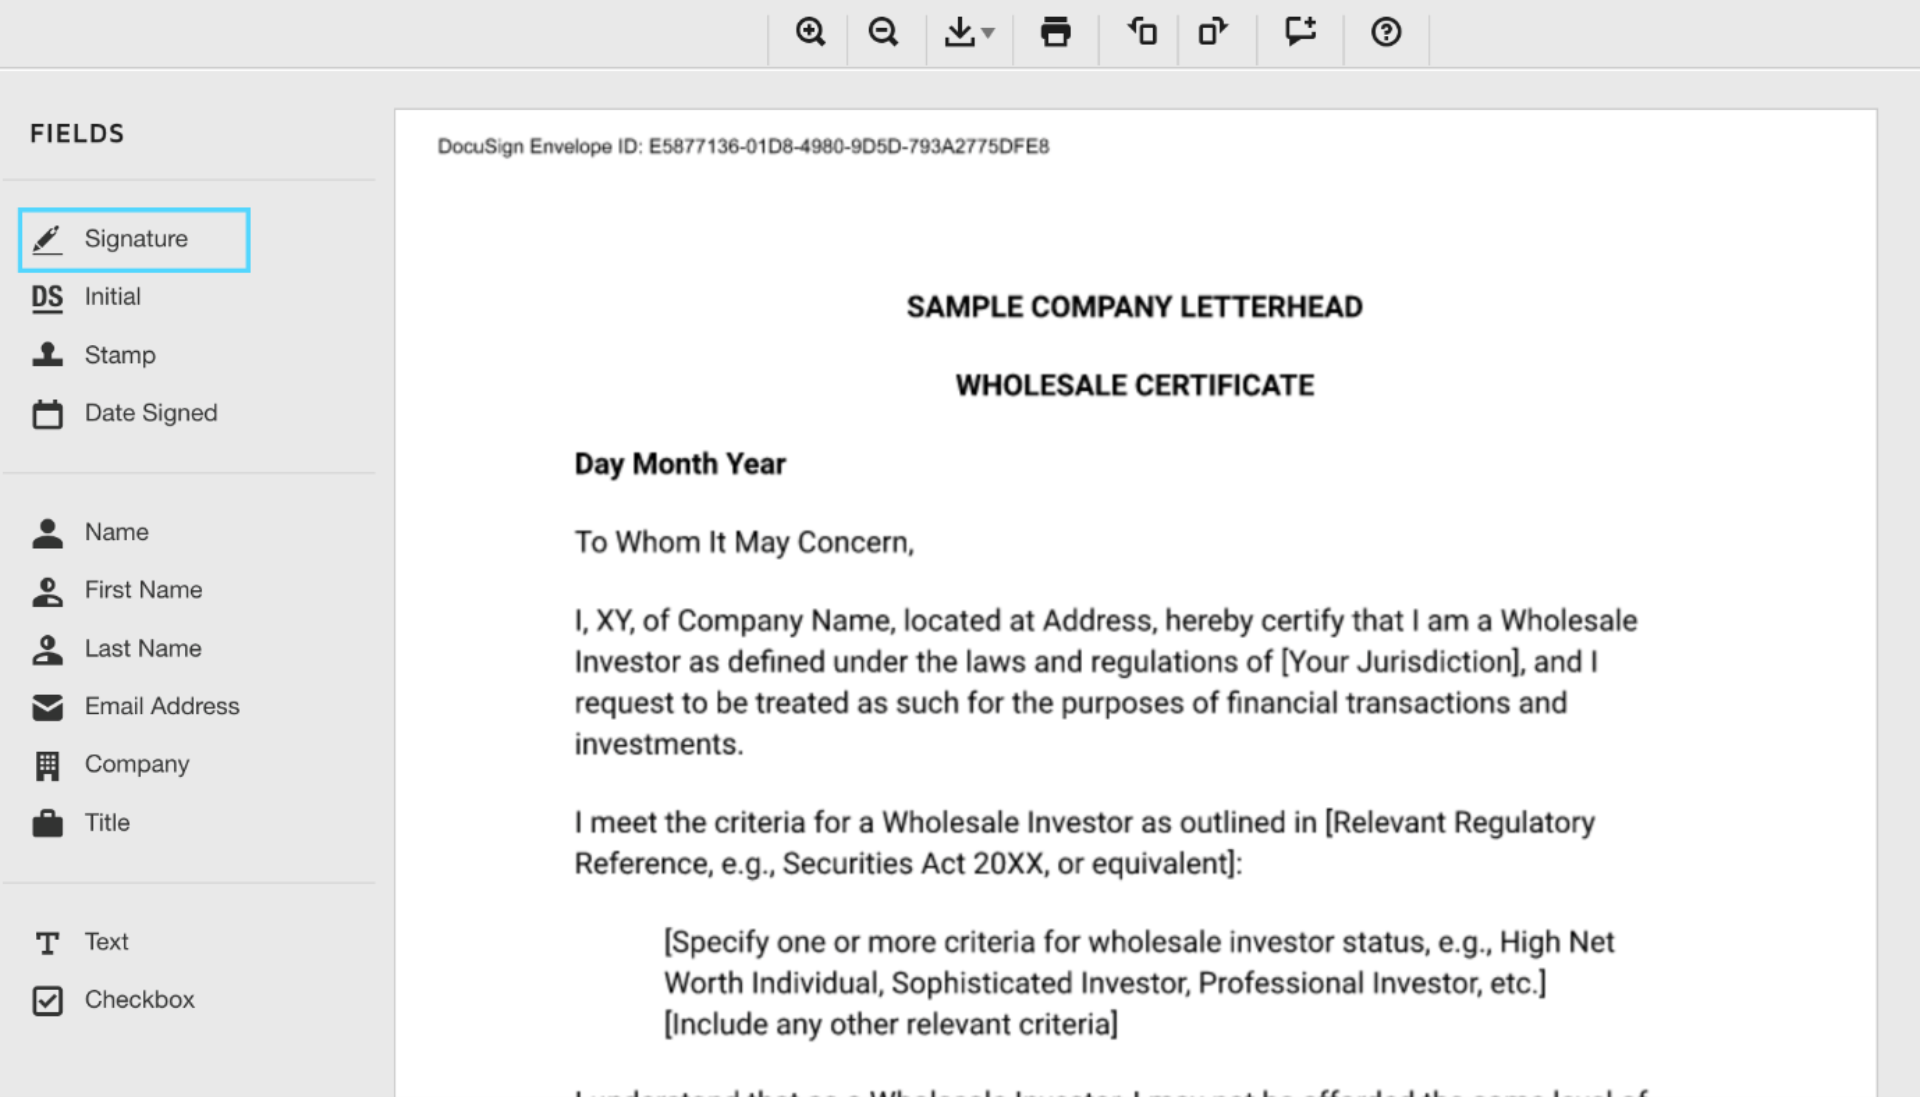
- To create an e-signature, select "Sign" at the bottom-right of the page and then under Fields, select "Signature".
- To fill in the required information, under Fields click on the "Text" option.
- To insert the e-signature, click "Signature". Your signature will appear on your document.
- Click the e-signature and drag it into place to position the signature accurately within the designated box.
- To complete the process, select "Finish" from the bottom of the page.
- Your document is now signed. In the Investor Portal, you can upload your signed and saved document.
Mac users
Signing a document using a Mac computer uses the "Preview" app. This comes pre-installed on all Apple computers, so no new programme is required.
Download the help guide here.
- Download and save the document that you need to sign.
- Open the downloaded document using the Preview app.
- Click the "Show Markup Toolbar" icon at the top right, then double-click the appropriate blank fields to input the necessary information.
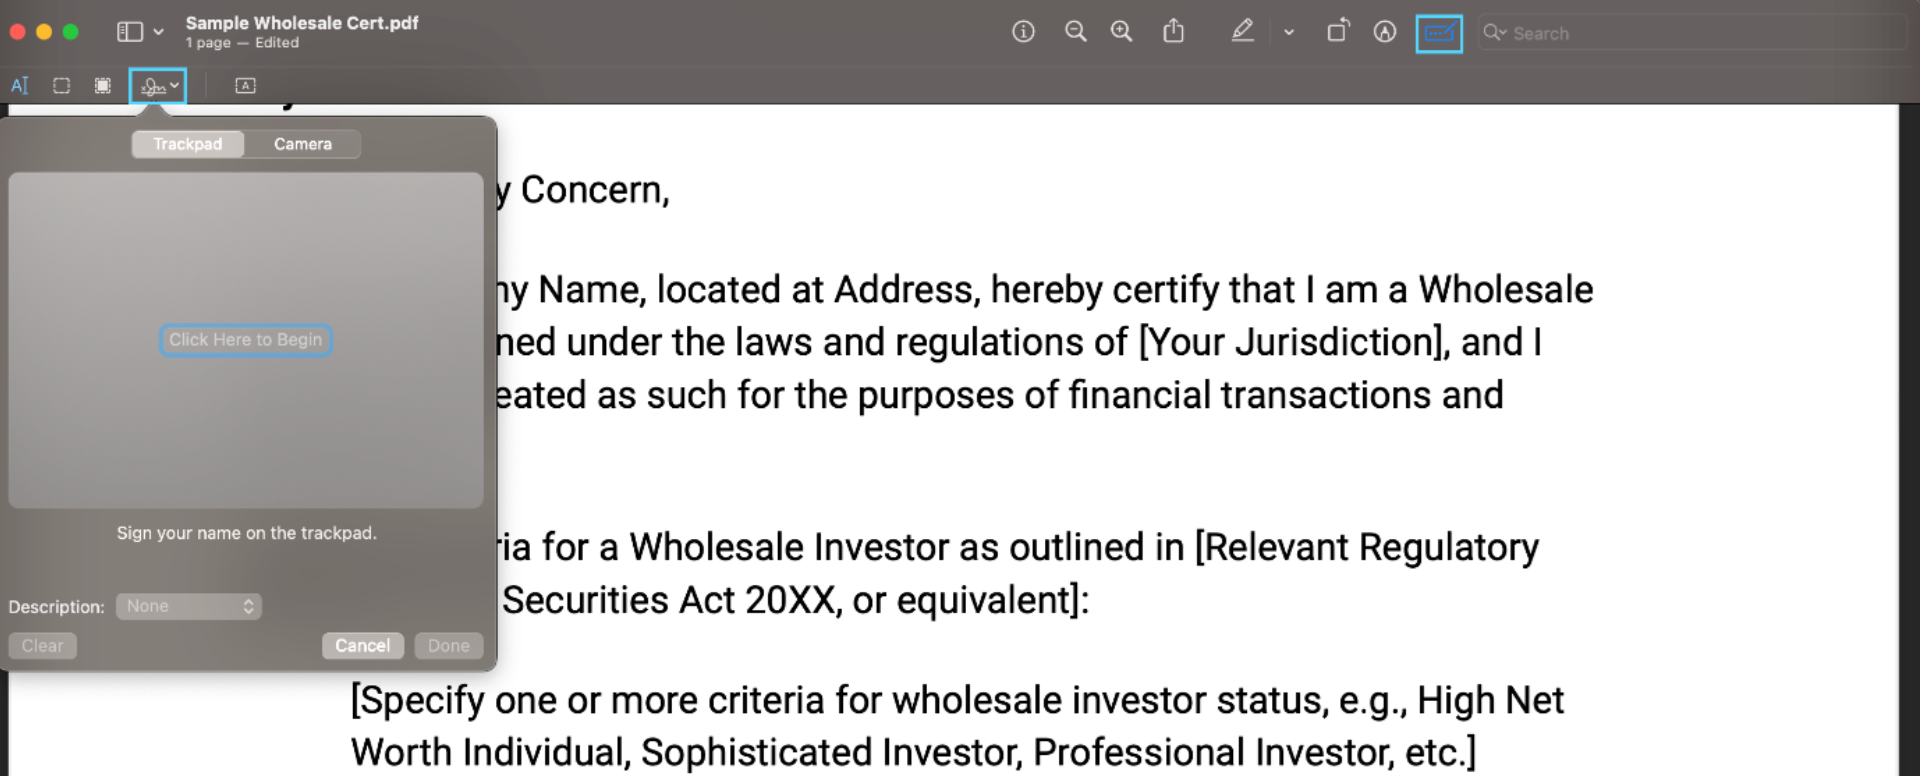
- Click on the signature icon at the top-left and choose "Create Signature". Using your finger on the trackpad, draw your signature and select "Done" to save your newly created e-signature.
- To insert the e-signature, click the signature icon again and select the relevant signature from the saved signatures. Once selected, the signature will be added to your PDF document. Drag and position it accurately within the designated box.
- Ensure your signature is correctly positioned, then go to "File" and choose "Save".
- Your document is now signed. In the Investor Portal, you can upload your signed and saved document.
Download the help guide here.